
HTML Source EditorWord Wrap
Argyle, in association with Pivot AM Service, is offering Maintenance on: Fortus 360mc, 400mc, 900mc for at least another 5 years. Don’t End the life, Extend the Life
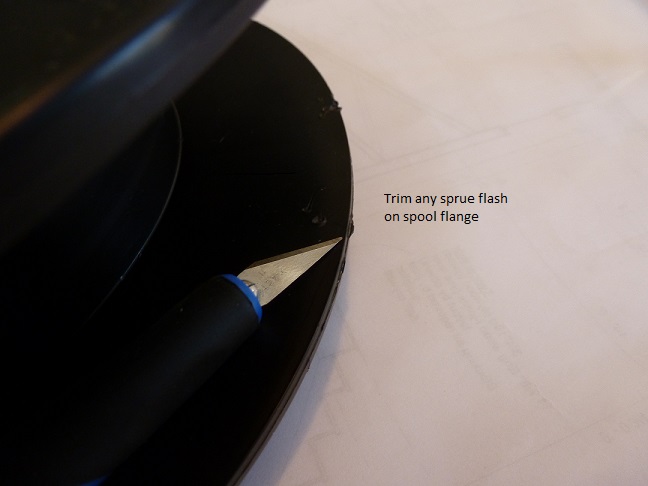
1. Trim any filament flash on spool flange.
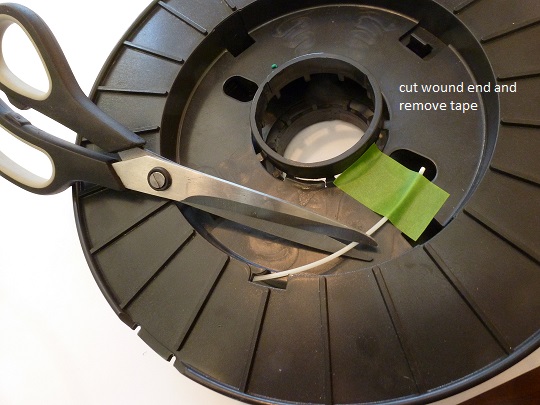
2. Cut wound end and remove tape.
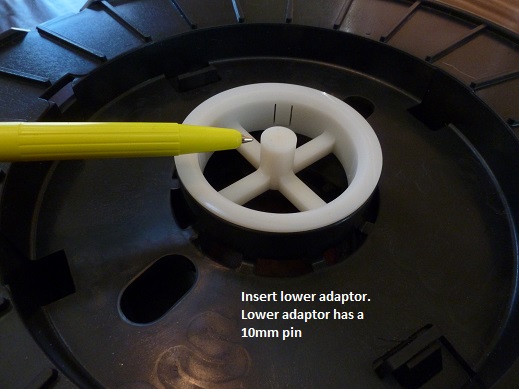
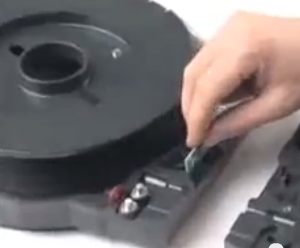
3. Insert lower adapter. Lower adapter has a 10mm pin.
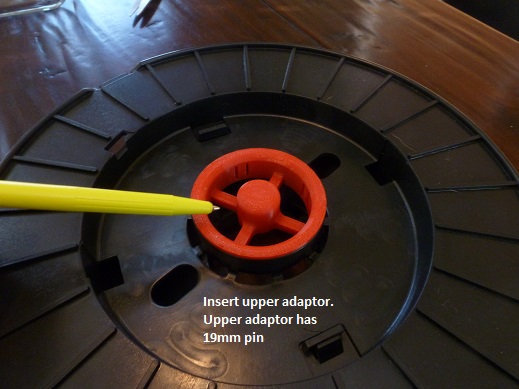
4. Insert upper adapter. Upper adapter has a 19mm pin.
5. With adapters in place, the spool should spin freely in carrier.

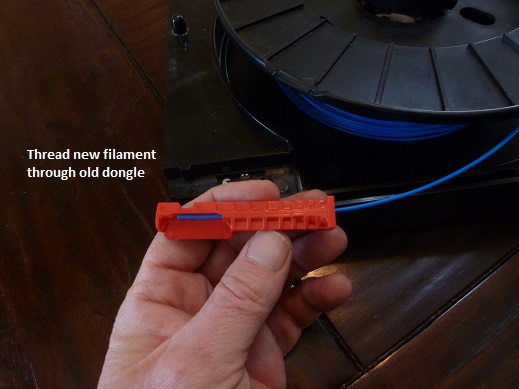
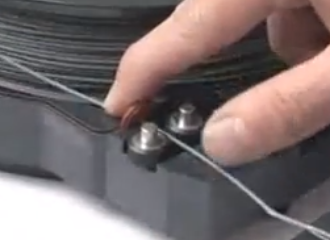
6. Thread new filament through old dongle.
7. Re-attach dongle with new filament in place.

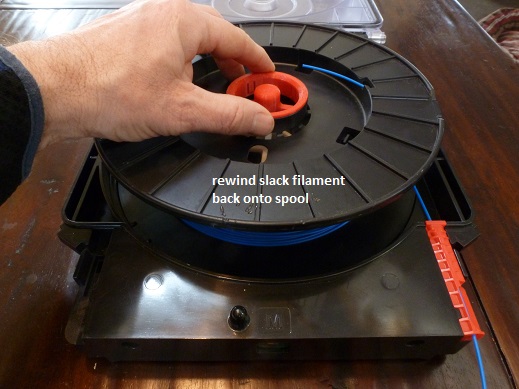
8. Rewind slack filament back onto spool.
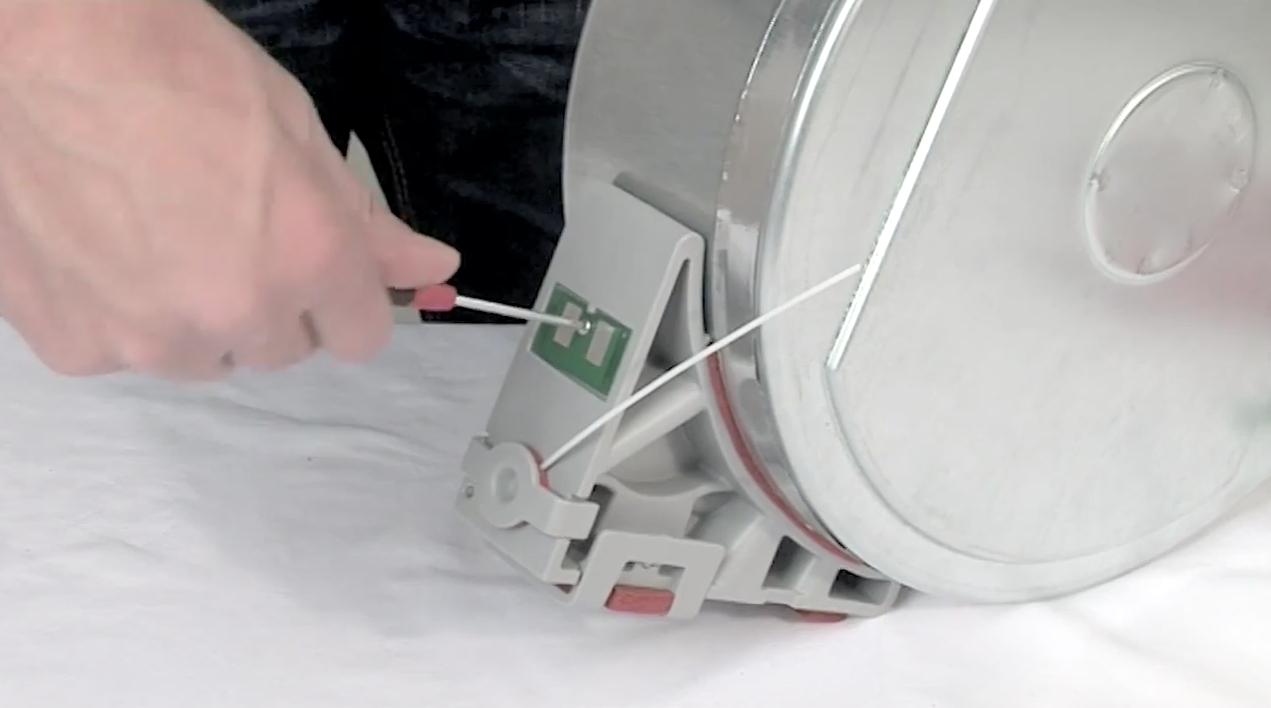
9. Remove adhesive tape backing from rear of DRD.

10. Apply DRD over contact pads on carrier face. Note "UP" text on DRD and chamfer in lower left corner for orientation.

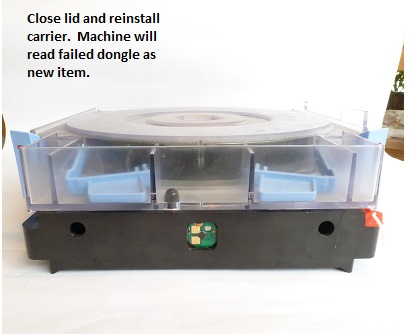
11. Close lid and resinstall carrier. Machine will read dongle as new item. (Without DRD, dongle will fail)
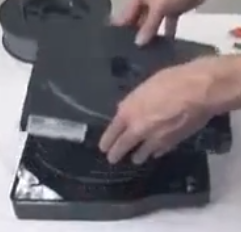
1. Use a 7/64 Allen key to remove the four screws on the back of the cassette.
2. Flip cassette over so the screws fall out. Keeping the spool in the bottom of the cassette ensures that the clam shell gasket stays in place in the groove.
3. Cut product id label.
4. Lift up top of clam shell, remove used eeprom chip, replace with new chip.
5. Pull left over filament back through gasket and lift out spool. Replace spool with refill spool.
6. Feed Filament through gasket and feed wheels.
7. Replace cassette top, ensuring that it seats properly.
8. Flip Cassette over and replace Allen Screws.
9. Return EEPROM chips to Argyle Materials for recycling credit.
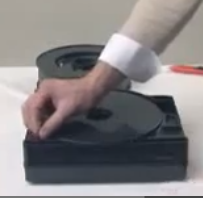
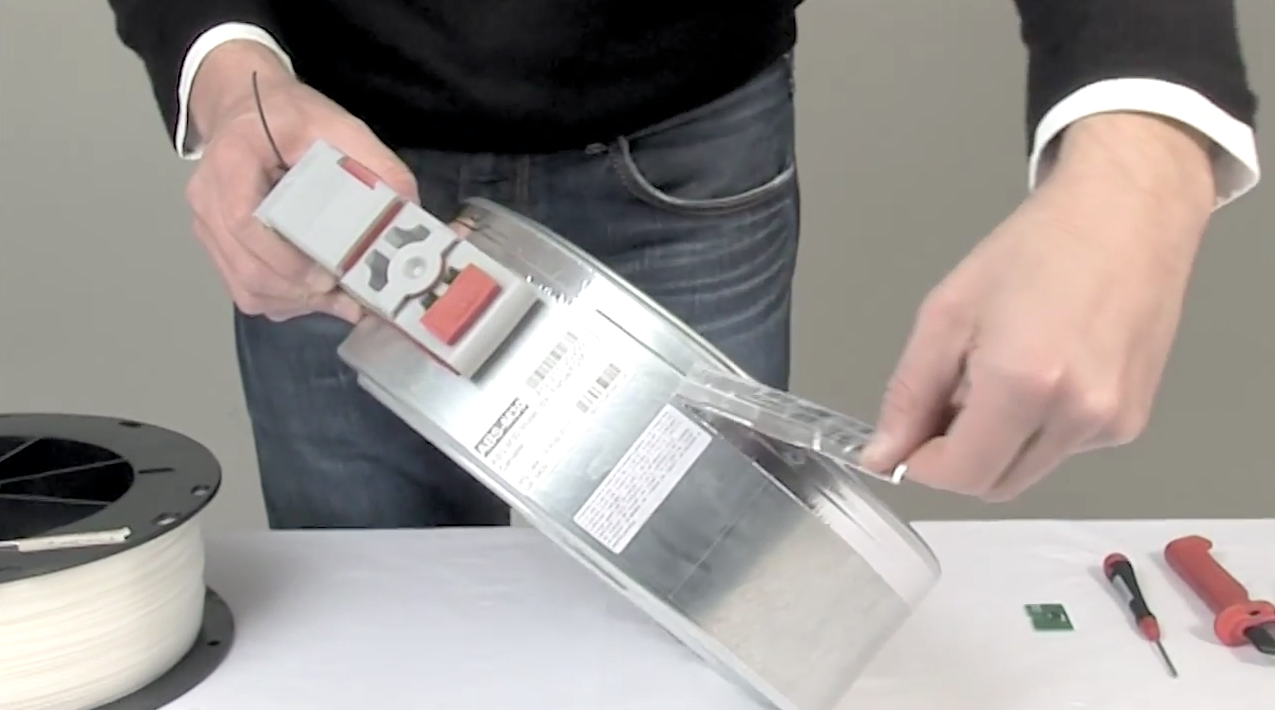
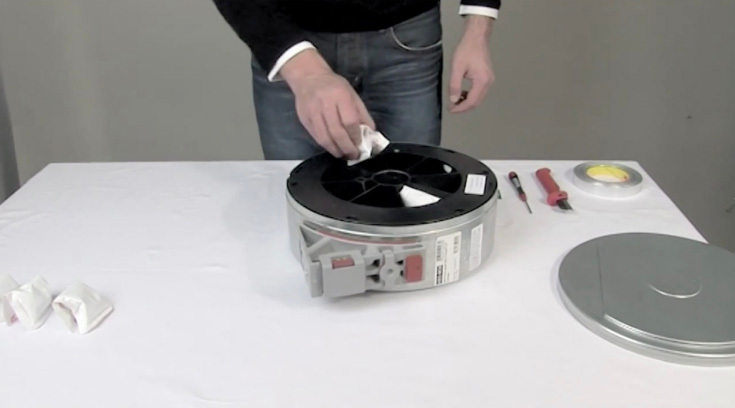
1. Remove silver metal tape holding canister lid in place and remove lid.
2. Remove lid.
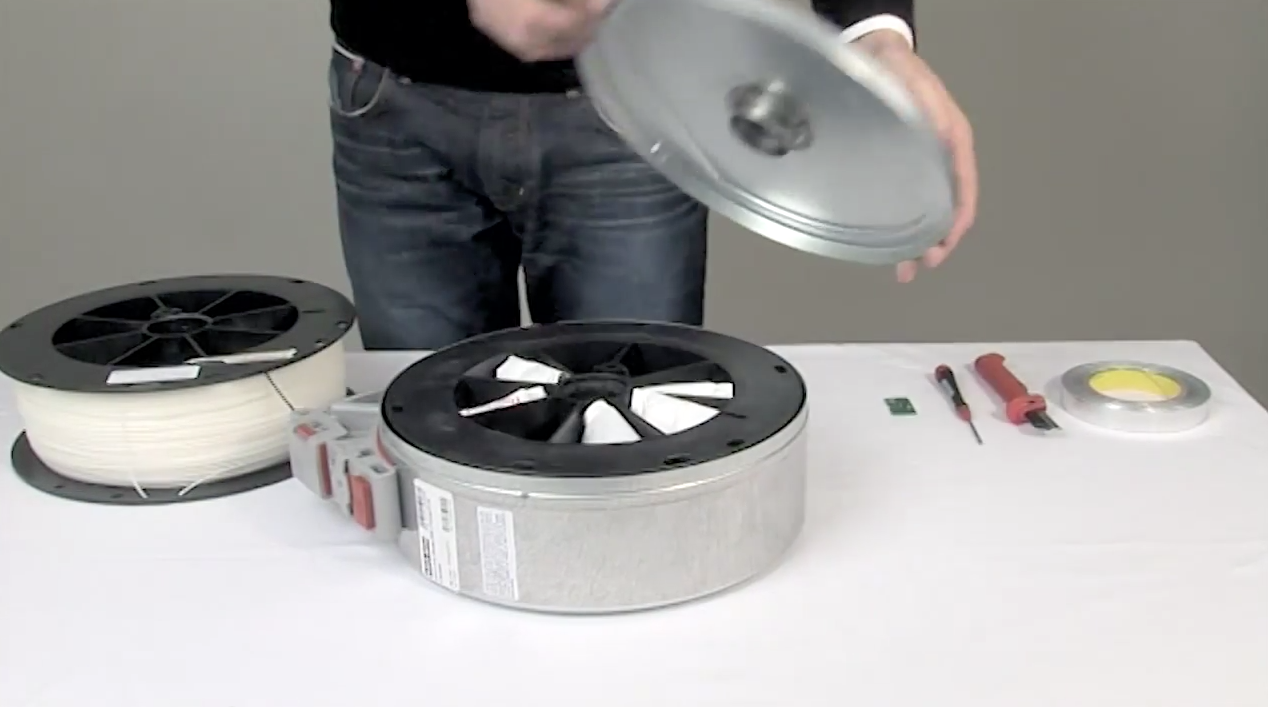
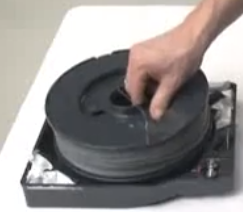
3. Extract spent spool and discard, keep desiccant packs for re-use.
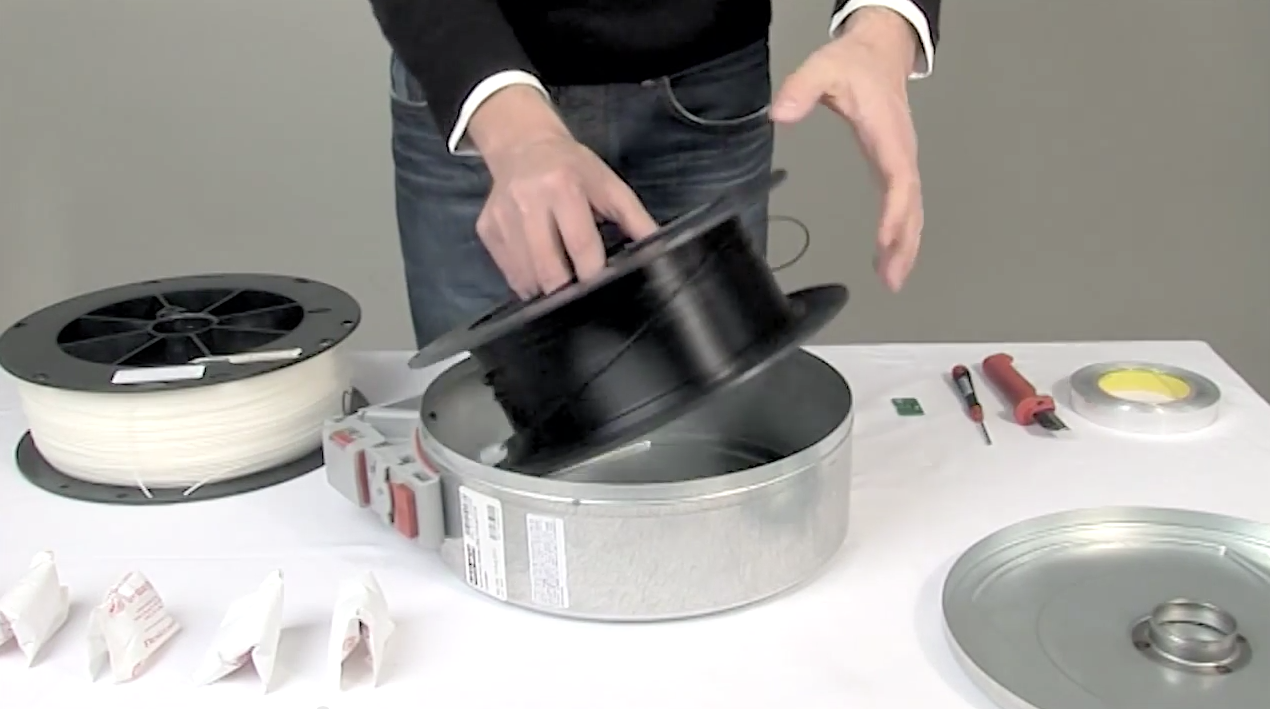
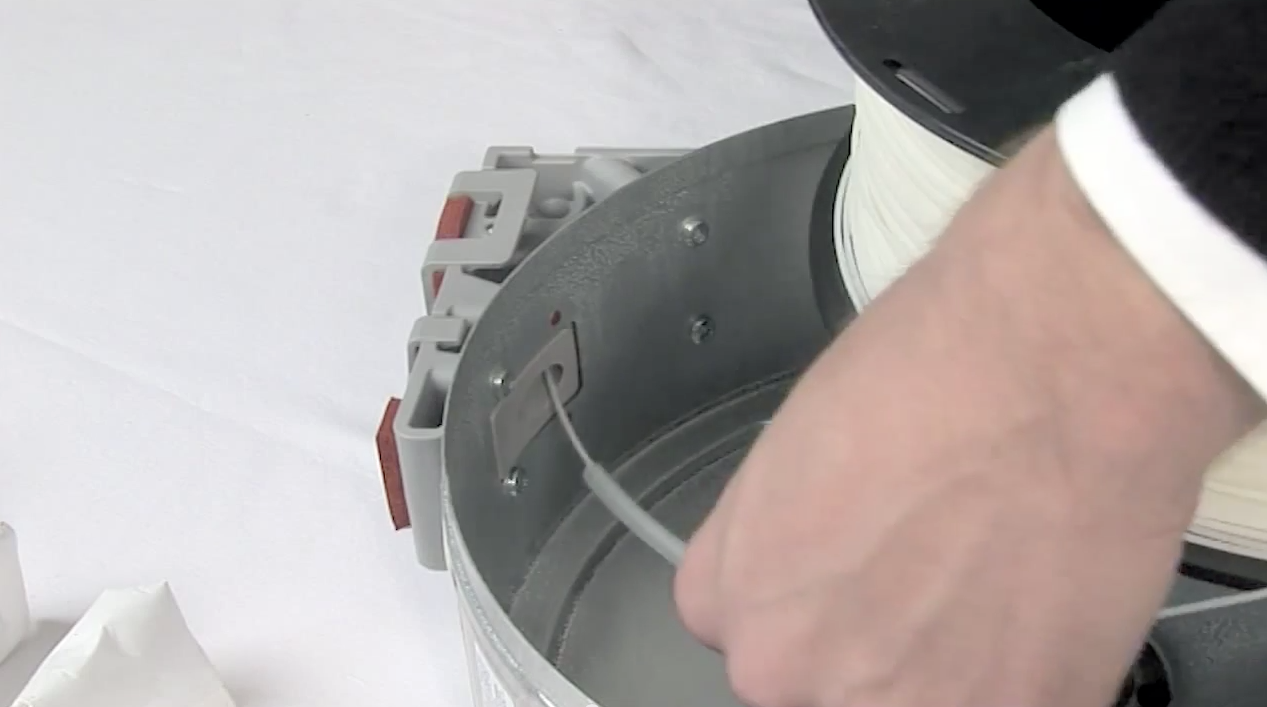
4. Place spool in canister base such that filament feeds off bottom of spool and straight out of the canister. Keep tension on filament at all times to avoid over rides.
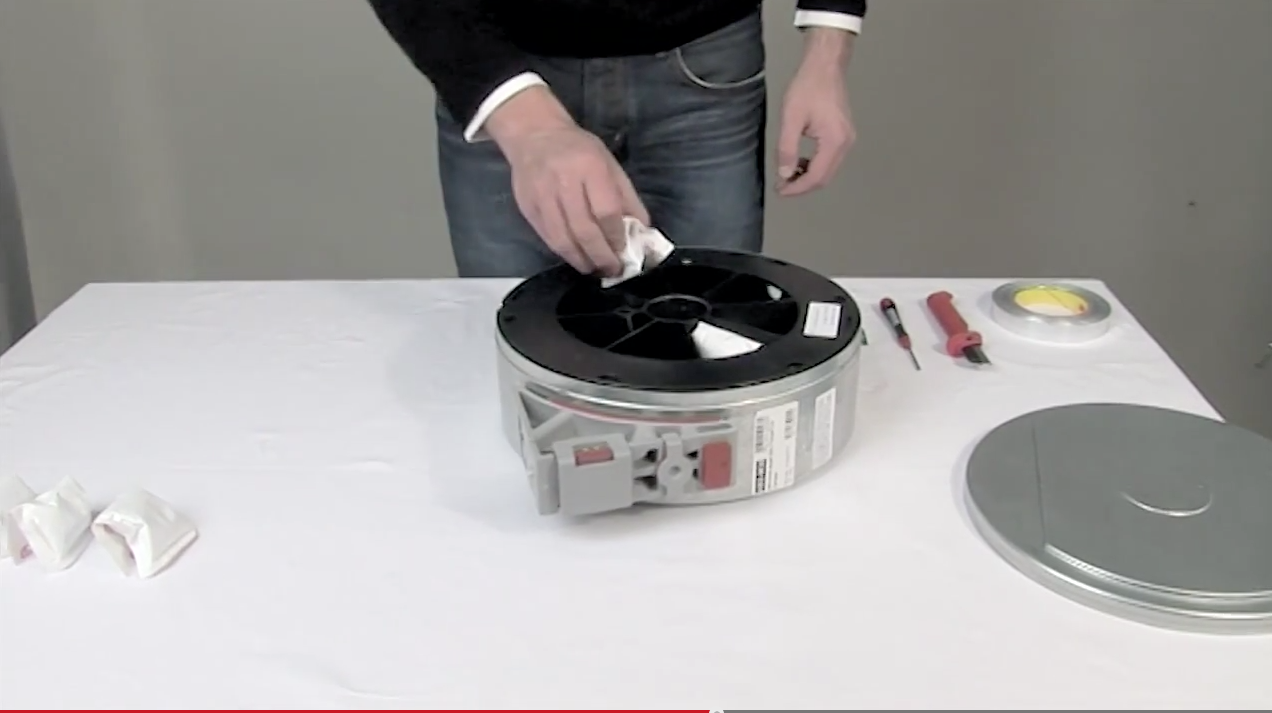
5. Cut open vacuum packed refill spool and stuff desiccant packs back into pockets.
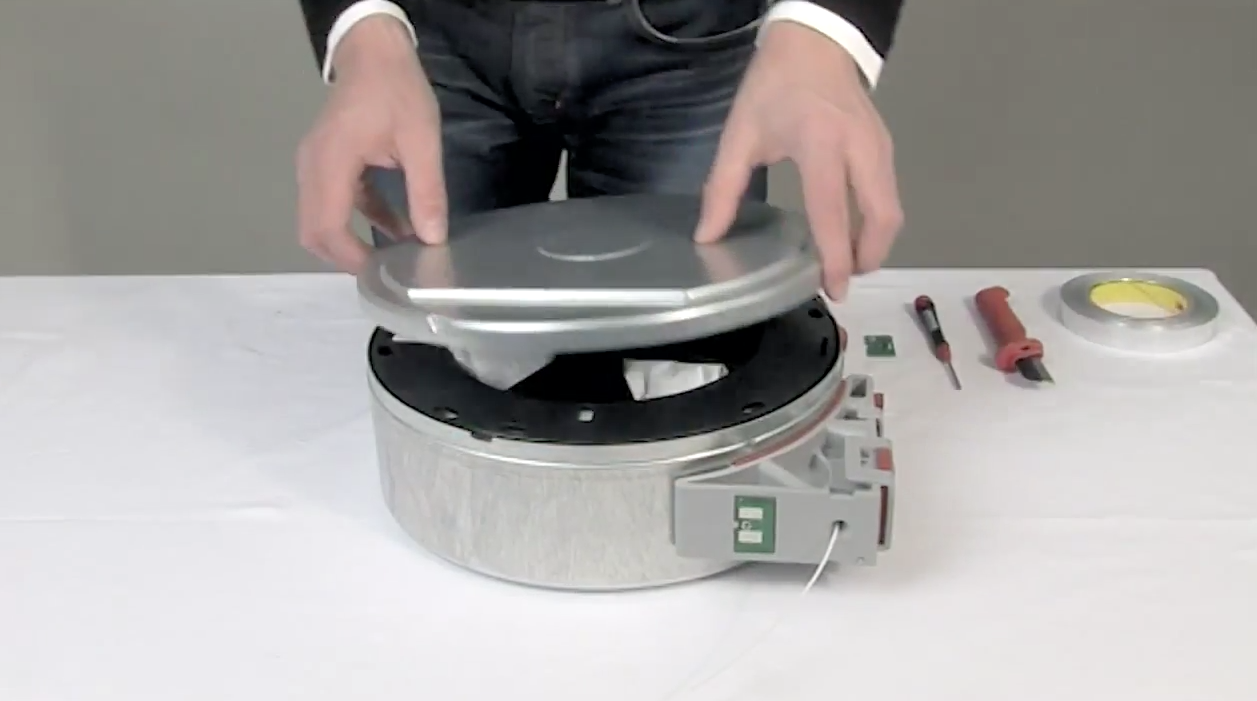
6. Replace lid on canister.
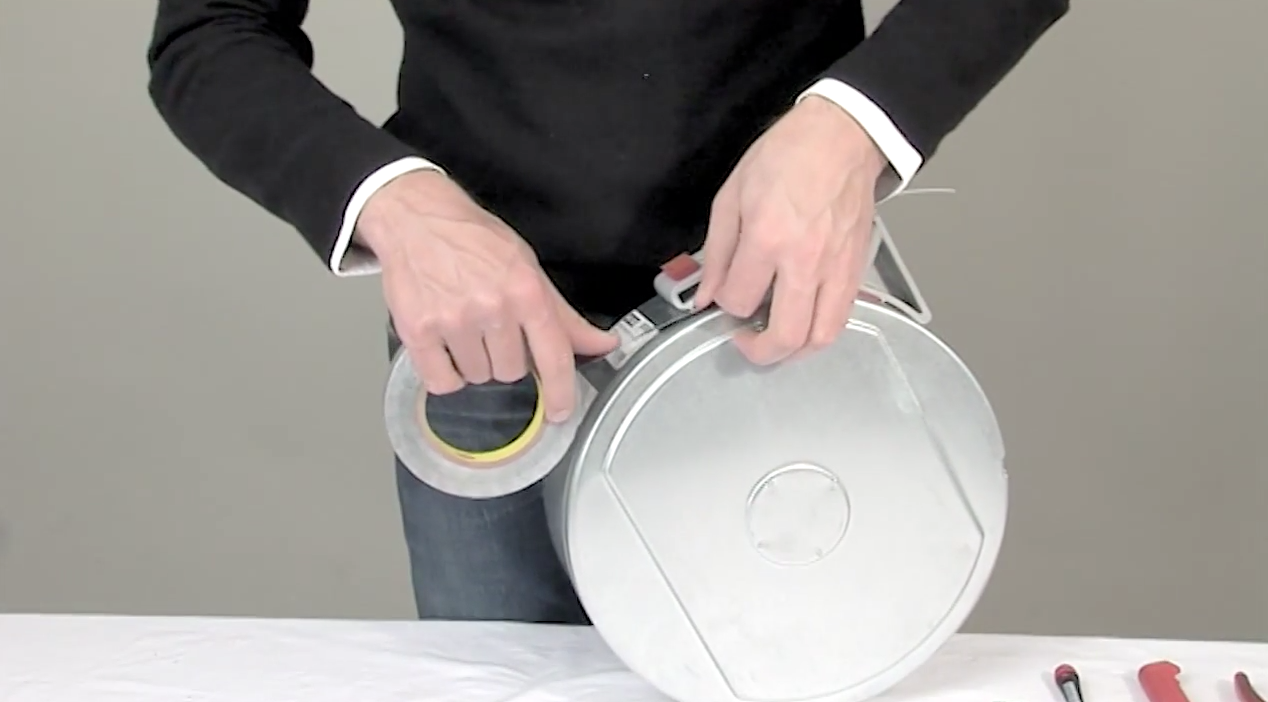
7. Re-tape Canister in three spots or all around, your choice.
8. Remove EEPROM chip from grey plastic area of cassette, above filament exit with small Phillips screw driver (save used EEPROMs for $5/ea credit, return to Argyle quarterly for credit). Install new EEPROM chip sent with refill spool on the exterior of the canister, using key way to locate chip and ensuring that metal pads remain exposed. The EEPROM will be matched to the volume on the spool and to your machine configuration of authorized materials.
9. Load refilled canister in your machine.
1. With your first order you will receive three STL files from Argyle Materials. Print one of each in preparation for the initial setup. These files consist of: (1) Chip holder/spindle adaptor; (2) Cannister cradle; (3) Hoser Feed Tube holder. We can also supply these with your first order if you’re unable to 3d print them.
2. Print chip holders/spindle adaptors in sparse mode vertically (this increases the strength of the “arms”).

3. Place supplied OEM chip inboard with contact pads facing outwards. Place Dongle Repair Device (DRD) chip supplied with contact pads facing outwards and metal tangs touching pads on OEM chip. Connect USB cable to DRD. Slide Chip holder / spindle replacement down slots in Model bay.

4. Power the Dongle Repair Device (DRD) chip using a micro USB cable. The USB can either be plugged into the port on the front of the machine or a wall outlet using a brick. Connect USB cable to port on face of F123 only after spindle and chips in place in Model bay slot.

5. We will send a Fortus canister as a spool holder / dry box with your first order. Follow canister loading instructions carefully, ensuring tension on the filament while feeding. Store loaded canisters standing up. Filament wraps will fall off the spool and get locked down if canister is laid flat.
6. Remove lid.

7. Place spool in canister base such that filament feeds off bottom of spool and straight out of the canister. Always keep tension on filament to avoid overrides.

8. Place desiccant packs into pockets.
9. Replace lid on canister.

10. Re-tape Canister in three spots or all around, your choice.

11. Place the cannister in the printed cradle and place it behind the machine, as shown.

12. At the back of the machine, disconnect feed-tubes from the Y-Block. Disconnect Material Tubes from Y Block

13. Use a 16” piece of scrap filament to trip the filament present switch behind the filament port in the drawer (It is only necessary to fill one model bay hole).

14. Install the “Hoser” printed feed tube holder above the disconnected Y blocks. The center hole on the feed tube holder mounts to the top of the Y Connector as shown in the photo below. The feed tube press fits into one of the outer counter sunk holes.

15. Leave the lid open to spool bay so lid doesn’t pinch the USB cable. If the door is fully closed it pinches the cable and signal is lost to the chip. Drawer may be closed.

16. Select Load filament on the F123 screen and hand feed the filament to the head passing through the Hoser feed tube holder until head motor grabs filament and starts to pull on it.
17. Please note: The DRD is programmed for 184ci, however the display will read 60ci until 124ci of material has been used. The display will begin to count down from there.
The simple answer is that running our materials does not affect the warranty on your machine. None of our customers have ever been refused service. Most customers will have a NDA in place to protect Company Confidential Information. The NDA precludes the service engineer from disclosing how you run your machine and what materials you run on it. There is very clear case law in the USA & Canada, which protects the interest of warranty owners, which makes your 3D Printer warranty valid irrespective of who manufactures the materials you decide to run in your machine.
Bear in mind 70-95% of the cost of running a 3D Printer is the cost of materials. No wonder OEM manufacturers want to try locking you in to elusively running expensive OEM Material. Running Argyle Materials and saving 25% of your materials costs will save you $5,000 to $15,000 per machine per year. After a couple of years you have saved the cost of a new printer.
United States
The Magnuson Moss Warranty Act states:
A Warrantor cannot require that only Branded parts be used with the product in order to retain the warranty. It is illegal for a company to refuse warranty work due to the use of third party products.
i.e. It is illegal for a warrantor to require that a customer exclusively purchase OEM Materials for their printer to maintain their machine warranty. Consumer purchasers are sometimes told that an aftermarket brand cannot be used during the warranty period. The claim is made that use of an aftermarket brand will "void the warranty," with the statement or implication that only the original equipment brand may be used. Under the federal Magnuson-Moss Warranty Act, the Clean Air Act and general principles of the U.S. Federal Trade Commission Act, a manufacturer may not require the use of any brand unless the manufacturer provides the item free of charge under the terms of the warranty.
Canada
Warranty holders are protected under the tied selling provisions of the Competition Act.
Tied Selling is defined as :
(a) any practice whereby a supplier of a product, as a condition of supplying the product (the "tying" product) to a customer, requires that customer to
(i) acquire any other product from the supplier or the supplier’s nominee, or
(ii) refrain from using or distributing, in conjunction with the tying product, another product that is not of a brand or manufacture designated by the supplier
An example of tied selling is were a warrantor requires that a customer exclusively purchase OEM Materials for their printer to maintain their Printer Warranty. Tied Selling is illegal in Canada.
Often in maintenance contracts OEM Printer Manufactures will insert a clause to require customers to exclusively run their materials. When you sign a Maintenance Renewal agreement and there is a clause in the agreement where you agree to not run third party materials: strike this clause before signing.
If you already have an agreement with the OEM remember: you will probably have a Non-Disclosure or Confidentially Agreement in place. Most companies require visitors to sign Non-Disclosure or Confidentiality Agreement (NDA) so anything they see or learn while at your facility is required to be kept confidential. i.e. If you have a Non-Disclosure agreement in place, it is illegal for the OEM field service engineer to report to his company that you are running third party materials.
We are not recommending that you break a contract, only suggesting that you remind your Field Service Engineer of their NDA contract with you and that they cannot disclose to anyone what they see or learn at your facility.
Argyle Materials are plug & play. The supplied EEPROM ensure that Argyle Materials will run seamlessly on your machine.
No adjustment or re-calibration of your machine is required. The supplied EEPROM ensures that the material will run in exactly the same manner as OEM material.
The appropriate EEPROM is packaged with each spool of material. Please keep these items together to ensure that a Model material is loaded with a Model EEPROM and a Support material is loaded with a Support EEPROM.
We sell ABS refill materials which are compatible with Stratasys® printers - no OEM Stratasys® materials are sold. Argyle Materials is not affiliated with, sponsored by or the source of any Stratasys® products.
All Prices are in US Dollars.
We accept payment by major credit cards, Paypal and Purchase Order (prior approval from sales@argylematerials.com required).
Purchase Orders are available by prior approval by Argyle Sales. Please contact us toll-free: 855-527-4953 or Email sales@argylematerials.com.
Destinations
Argyle Materials ships to the continental USA, Canada, the Caribbean, Mexico and South America.
Fulfillment
USA orders ship from Traverse City, Michigan. Canadian orders ship from Uxbridge, Ontario.
Shipping Methods
Once the item leaves our warehouse, the shipping method you chose on the checkout page determines how quickly your item will be delivered to your doorstep.
Shipping Costs
Shipping costs are calculated and displayed before you complete your order on our website. You can also see shipping costs on the Order Acknowledgment email and on online Order Status. If you order multiple items, you may receive separate shipments. You will receive a Shipment Notification email for each shipment with the carrier's name and tracking information, if available.
We Keep You Informed
Shortly after you place your order, you will receive an Order Acknowledgement email to confirm your order details, including shipping and delivery estimates for each item. Once your item has prepared for shipment and ships, you will receive a Shipment Notification email with carrier and tracking information.
If you are not satisfied with your purchase, simply return the materials and eeprom in the original packaging within 20 days of receipt. We will issue a full refund (exluding original delivery charge) within 30 days after receipt.
Please review our Privacy Policy to understand how we handle and store your data.